
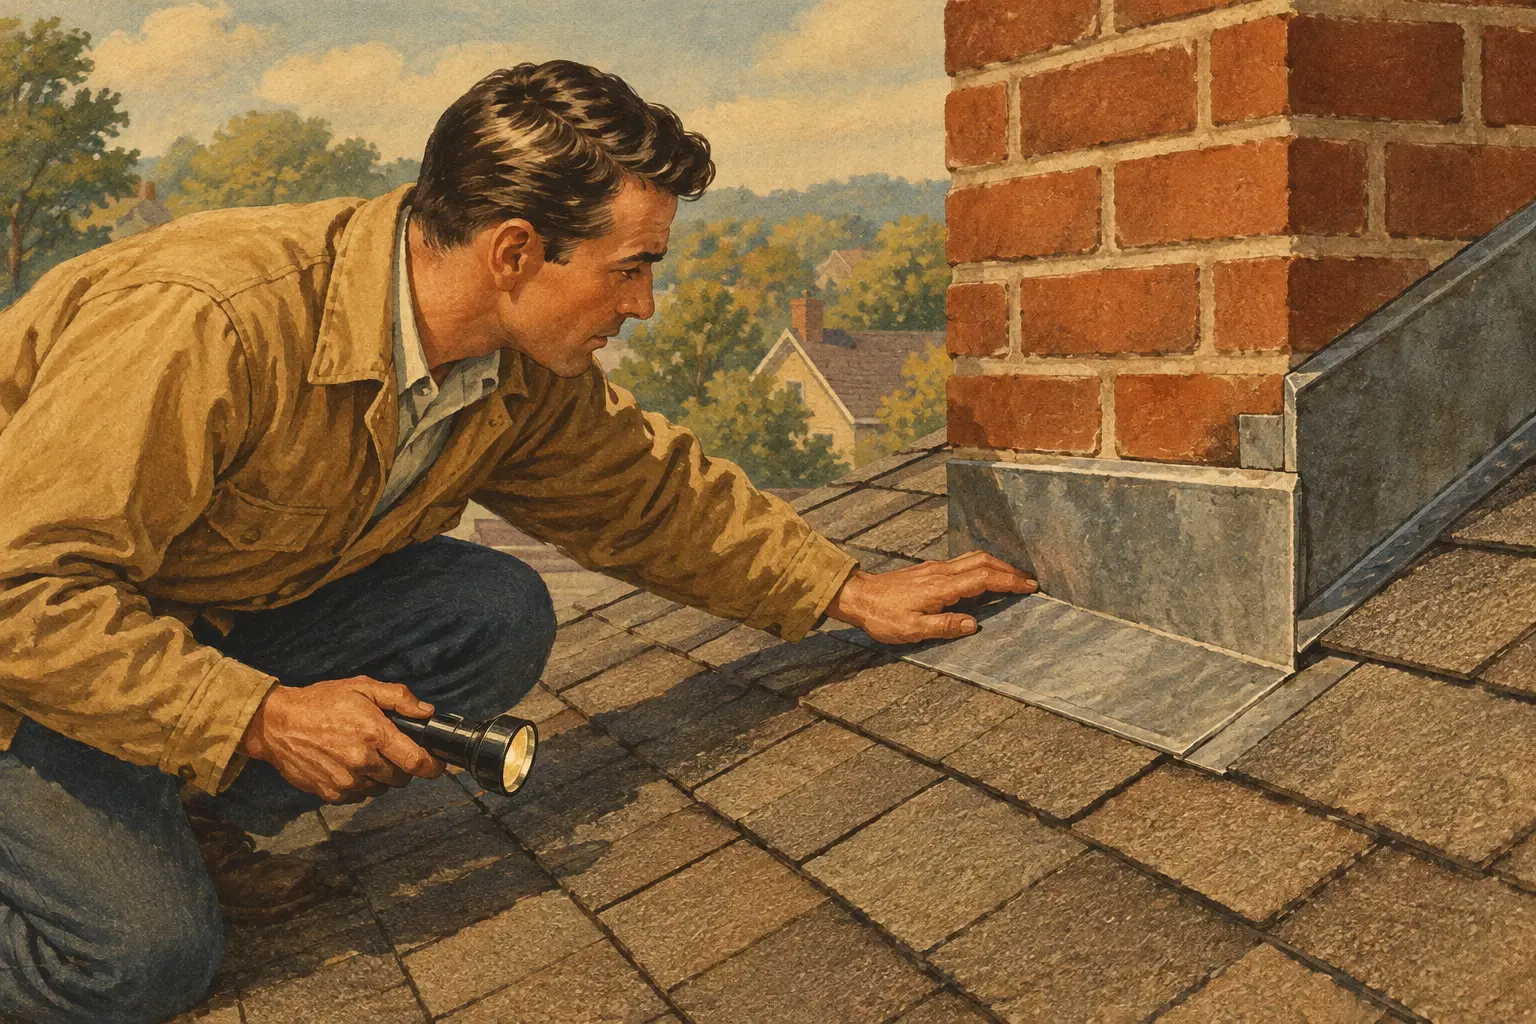
How to Inspect Roof Flashing Without Missing Leaks
A roof can have shingles that look perfectly serviceable and still leak around a chimney, vent pipe, skylight, or wall intersection. That is often a flashing problem. Knowing how to inspect roof flashing helps you spot small weaknesses before South Dakota snow, wind, and spring rain turn them into damaged ceilings, wet insulation, or costly structural repairs.
Flashing is the metal or membrane material installed wherever the roof changes direction or meets another surface. Its job is simple: direct water away from vulnerable joints. Its condition, however, can be harder to judge from the ground. A careful visual check can tell you when to schedule a professional roof inspection and when a repair should not wait.
Start With Safety and a Ground-Level Check
Do not climb onto a steep, wet, icy, or aging roof to inspect flashing. In the Black Hills, roof surfaces can stay slick after a storm or develop hidden frost in shaded areas. A fall is never worth the risk of a quick inspection.
Start from the ground using binoculars, then check from a securely placed ladder only if you can do so safely without stepping onto the roof. Look for areas where flashing is commonly installed: around chimneys and skylights, at plumbing vents, along sidewalls, near dormers, in roof valleys, and where a roof meets a vertical wall.
From this position, you may notice lifted metal, open seams, missing sections, stains on siding, or debris collecting in valleys. These are useful warning signs, but they do not always reveal the full condition of the flashing. Water can enter through a small opening that is difficult to see from below.
Inside the property, inspect the attic and upper-level ceilings as well. Brown rings, peeling paint, damp insulation, musty odors, or daylight visible near roof penetrations all deserve attention. Keep in mind that the interior stain may appear several feet from the actual leak. Water often travels along roof decking, framing, or insulation before it becomes visible.
How to Inspect Roof Flashing at Key Problem Areas
A thorough flashing inspection focuses on the transition points where water is most likely to work under the roofing material. Different flashing types fail in different ways, so pay attention to the details of each area.
Chimney Flashing
Chimneys are one of the most common sources of roof leaks because they interrupt the roof plane on several sides. Chimney flashing usually includes base flashing at the bottom, step flashing along the sides, and counterflashing set into the chimney mortar joints.
Look for rust, cracks, bent metal, gaps between the flashing and brick, or sections pulling away from the chimney. Cracked or missing mortar around counterflashing can allow water behind the metal. Sealant may be present at certain connections, but sealant alone should not be carrying the whole system. Properly installed flashing relies on overlapping materials that shed water naturally.
If you see loose flashing, deteriorated mortar, or dark streaks beneath the chimney, arrange for a professional evaluation. Repeated caulking over a failing chimney flashing system can hide the issue temporarily while water continues to reach the roof deck.
Vent Pipe Boots and Roof Penetrations
Plumbing vents, furnace vents, exhaust vents, and other roof penetrations each need a watertight flashing detail. On many homes, plumbing vent flashing includes a metal base with a rubber or neoprene boot that seals around the pipe.
Inspect the boot for splitting, brittleness, shrinking, or separation from the pipe. Sun exposure and large temperature swings can break down rubber over time. Check whether the metal base sits flat against the roof and whether the surrounding shingles are intact.
A cracked vent boot may look like a minor issue, but it can let water into the attic every time it rains. This is often a targeted repair when caught early. If the nearby shingles are worn or the flashing is improperly integrated, the repair may need to extend beyond the boot itself.
Step Flashing Along Walls and Dormers
Step flashing is installed where a sloped roof meets a vertical wall, such as a dormer or sidewall. Individual metal pieces should overlap like shingles, directing water down and away from the wall. Siding or trim typically covers the upper edge.
Watch for exposed gaps, bent pieces, rust, missing sections, or siding that appears swollen or stained near the roofline. Water damage on the wall below a roof-to-wall transition is especially concerning. It can point to step flashing that was omitted, installed incorrectly, or damaged by wind and ice.
This area deserves professional attention because the flashing is partly concealed by siding. Removing or disturbing the wrong components can create a larger water-entry point. A qualified contractor can determine whether the issue is at the roof, behind the siding, or both.
Valleys, Skylights, and Low-Slope Transitions
Roof valleys collect a high volume of runoff, making them vulnerable to debris buildup and material wear. Look for leaves, pine needles, branches, or granules collecting in the valley. Debris can slow drainage, trap moisture, and force water sideways beneath shingles or flashing.
Around skylights, inspect for cracked sealant, loose exterior trim, lifted shingles, and visible metal separation. Condensation on the inside of a skylight can be a humidity issue rather than a roof leak, but stains or damp drywall around the frame should be investigated.
Low-slope roof sections and transitions between different roof materials require extra care. Water drains more slowly in these areas, so even a small flashing defect can become a recurring leak. Commercial buildings may have larger penetrations, curbs, parapet walls, and membrane-to-metal transitions that are best assessed by a trained roofing professional.
Know What Damage Actually Matters
Not every mark on metal flashing means it has failed. Light surface discoloration, minor cosmetic scratches, or old sealant that is still intact may not require immediate repair. The concern is whether the flashing still directs water over the roofing surface instead of allowing it behind the system.
Schedule an inspection sooner rather than later if you find any of the following:
- Flashing that is loose, lifted, bent open, or missing
- Rust holes, corrosion, punctures, or cracked metal
- Dried, split, or separated sealant at a vulnerable joint
- Cracked rubber boots around plumbing vent pipes
- Water stains, wet insulation, mold growth, or musty attic odors
- Shingles that are damaged or displaced beside flashing
Wind damage can be subtle. A strong gust may loosen a flashing edge without tearing off visible shingles. Hail can also dent metal and compromise older, brittle sealant. After a severe storm, a professional inspection provides a clearer picture than a quick look from the yard.
Check After Seasonal Weather Changes
For most homes, inspecting visible flashing twice a year is a sensible routine: once after winter and again after the heavier summer storm season. A commercial property with a low-slope roof, frequent foot traffic, or multiple rooftop units may need more regular checks.
Spring inspections are particularly useful in Rapid City and across the Black Hills. Snowmelt, ice buildup, freeze-thaw cycles, and wind can expose weak flashing details that were not apparent in fall. Check again after major hail, high-wind events, or when you notice interior moisture.
Also look at gutters and downspouts during your inspection. Overflowing gutters can send water where it does not belong, soaking fascia, siding, and flashing areas near the eaves. Keeping drainage clear supports the entire exterior system, not just the roof.
When a Repair Is Enough and When It Is Not
A localized flashing repair can be an efficient solution when the surrounding roof materials are in good condition and the problem is limited to one area. Replacing a cracked vent boot, securing a lifted flashing edge, or rebuilding flashing around a chimney may stop a leak without requiring a full roof replacement.
It depends on the age and condition of the roof. If shingles are brittle, curling, losing granules, or nearing the end of their service life, removing them for a flashing repair can cause additional damage. In that case, it may make more sense to address flashing during a larger roof repair or replacement project.
For commercial properties, the same principle applies. A single failed penetration detail may be repairable, while widespread membrane deterioration, ponding water, or repeated leaks may call for a broader plan. The right recommendation should be based on what is actually happening at the roof, not a one-size-fits-all fix.
Leave Hidden Flashing Work to a Professional
Flashing must be layered correctly with shingles, underlayment, siding, masonry, or roofing membrane. Simply adding more caulk is rarely a durable answer. It can trap water, conceal deterioration, and make a later repair more difficult.
Good Guys Exteriors helps homeowners and property owners identify roof issues clearly and make practical decisions about repair or replacement. An experienced inspection can confirm whether a suspicious area needs attention now, should be monitored, or is part of a larger exterior concern.
If you see interior moisture, loose metal, cracked pipe boots, or storm damage, document what you can from the ground and arrange for a safe evaluation. Catching a flashing issue early protects more than the roof – it helps protect the people, property, and investment underneath it.