
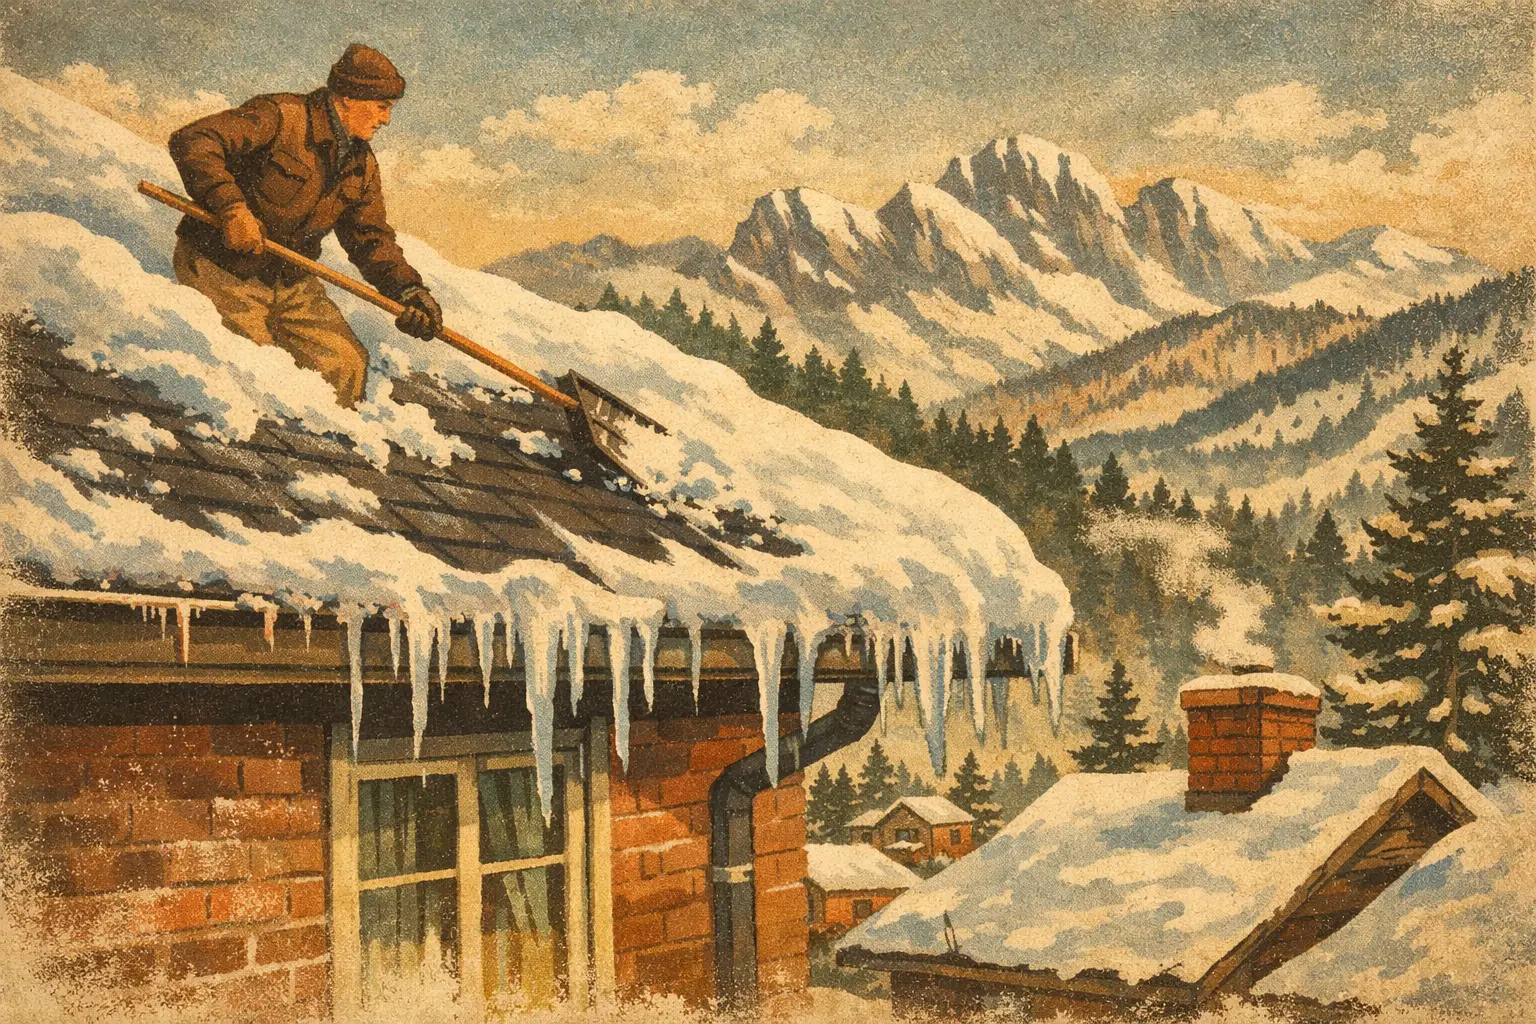
How to Prevent Ice Dams on Black Hills Roofs
A few inches of snow on a Rapid City roof may look harmless, but a band of ice along the eaves can signal a problem that deserves attention. Knowing how to prevent ice dams starts with understanding what is happening above the ceiling, not simply what is visible in the gutters. The goal is to keep the roof surface as consistently cold as possible while giving melting snow a clear path away from the property.
Ice dams are common in the Black Hills because winter weather can shift quickly. Snow, sun, wind, and temperature swings all affect how a roof performs. Addressing the source of the problem before the next major storm is the most reliable way to protect your roof, attic, insulation, ceilings, and exterior walls.
What Causes an Ice Dam?
An ice dam forms when snow melts on a warmer upper section of the roof and runs down toward the colder eaves. At the overhang, where there is less heat rising from the home below, that water refreezes. Over time, the ice ridge grows and prevents later meltwater from draining off the roof.
That trapped water can work its way beneath shingles and flashing. It may then enter the roof deck, attic, walls, or living space. Water stains, peeling paint, damp insulation, warped trim, and mold are all possible results. A roof can be in otherwise sound condition and still leak when an ice dam forces water where it does not belong.
The underlying cause is usually uneven roof temperatures. Warm air escaping from the living space heats the roof from below, while the eaves remain cold enough for meltwater to freeze. Heavy snow and blocked drainage can make the situation worse, but they are rarely the full explanation.
How to Prevent Ice Dams Before Winter
The best prevention work happens before snow arrives. It usually involves the attic, roof system, and drainage system working together. One improvement can help, but lasting results often require correcting more than one issue.
Seal attic air leaks first
Air leakage is a major source of unwanted attic heat. Warm indoor air can escape through openings around light fixtures, plumbing vents, wiring penetrations, attic hatches, chimneys, and top plates inside exterior walls. That heat reaches the underside of the roof deck and starts melting snow from below.
Air sealing should come before adding more insulation. If gaps remain open, warm and moist air can still move into the attic, reducing the benefit of new insulation and increasing the risk of condensation. This work may require careful attention around electrical components, exhaust vents, and chimneys, so it is often worth having an experienced professional assess the attic first.
Add and maintain proper attic insulation
Insulation slows the movement of heat from the home into the attic. When it is installed evenly and at the appropriate depth, the roof deck is less likely to warm enough to melt snow prematurely.
Insulation should cover the attic floor consistently without blocking soffit ventilation at the eaves. Thin spots, compressed material, bare areas around attic access points, and insulation disturbed by past work can all create warm zones above. In older homes, uneven insulation is especially common.
More insulation is not always the complete fix. If warm air is leaking through openings below it, or if ventilation is restricted, simply piling on material may not solve the problem. A balanced attic assessment helps identify where heat is entering and where it is getting trapped.
Make sure attic ventilation can do its job
A properly designed attic ventilation system helps remove excess heat and moisture. In many sloped-roof homes, cooler air enters through soffit vents and exits near the roof peak through ridge vents or other high-level exhaust vents. This airflow helps the roof deck stay closer to the outdoor temperature.
Ventilation needs to be balanced and unobstructed. Painted-over soffit vents, insulation packed tightly at the eaves, damaged vent screens, or insufficient exhaust ventilation can reduce airflow. The right setup depends on the roof design, attic configuration, and existing ventilation. Some homes, particularly those with complex rooflines or conditioned attic spaces, need a different approach than a standard vented attic.
Bathroom, kitchen, and dryer exhaust should also vent outdoors, not into the attic. Sending warm, humid air into the attic can contribute to frost, moisture damage, and heat buildup during winter.
Keep Snow and Water Moving Off the Roof
Attic improvements address the cause of ice dams. Roof and gutter maintenance helps limit the conditions that allow water and ice to build up at the edge.
Keep gutters and downspouts clear before winter. Leaves, roofing granules, and other debris can trap water at the eaves, where it freezes more easily. Gutters do not cause every ice dam, but clogged gutters can worsen drainage problems and add unnecessary weight to the roof edge.
After a heavy snowfall, a roof rake can remove snow from the lower few feet of the roof while you remain safely on the ground. This may reduce the amount of meltwater reaching the eaves during a warm spell. Use a rake designed for roofing, work carefully, and avoid scraping shingles or metal surfaces. Roof raking is a temporary winter measure, not a substitute for correcting heat loss and ventilation issues.
Do not chip at ice with a shovel, axe, hammer, or sharp tool. That can damage shingles, flashing, gutters, and the roof deck. Avoid spreading rock salt or other corrosive products on the roof, too. These materials can harm roofing components, landscaping, and nearby metal surfaces.
Be Careful With Heat Cables
Heat cables are sometimes used along roof edges and in gutters to create channels for melting water. They can be useful in specific trouble areas, especially where roof design makes ice buildup difficult to manage. They should be installed according to manufacturer instructions and connected to properly protected electrical service.
However, heat cables treat the symptom rather than the source. They use energy, require monitoring, and may not prevent an ice dam if significant attic heat loss continues. For a recurring problem, air sealing, insulation, and ventilation should be the first conversation.
Watch for Early Warning Signs
A small amount of ice on a gutter does not always mean there is an ice dam. Still, certain signs call for a closer look. Thick ice ridges at the eaves, large icicles, repeated ice buildup in the same location, ceiling stains, damp attic insulation, and visible frost on the underside of the roof deck can all point to a problem.
Pay attention to patterns. If one section of the roof repeatedly loses snow faster than the rest, heat may be escaping below that area. It could be near an attic hatch, a recessed light, a poorly insulated wall, a chimney chase, or an area where insulation has settled. Identifying the pattern helps direct repairs where they will matter most.
When to Call a Roofing Professional
If water is entering the home, ice has lifted shingles, gutters are pulling away, or you cannot safely inspect the roof, call for professional help. Emergency snow and ice removal should be handled with caution, particularly on steep roofs or around power lines. A contractor can also inspect the roof for damage and needed repairs after the ice has melted.
For recurring ice dams, an inspection should look beyond the roof covering. The attic, insulation, ventilation, gutters, and roofline all deserve attention. Good Guys Exteriors helps Black Hills property owners evaluate the exterior side of the issue and identify roofing or gutter repairs that support dependable winter drainage.
If your roof is older or has recurring winter problems, it may also be worth discussing whether roof replacement makes more sense than repeated repairs. If you want a local assessment before winter, request a free roof inspection from Good Guys Exteriors.